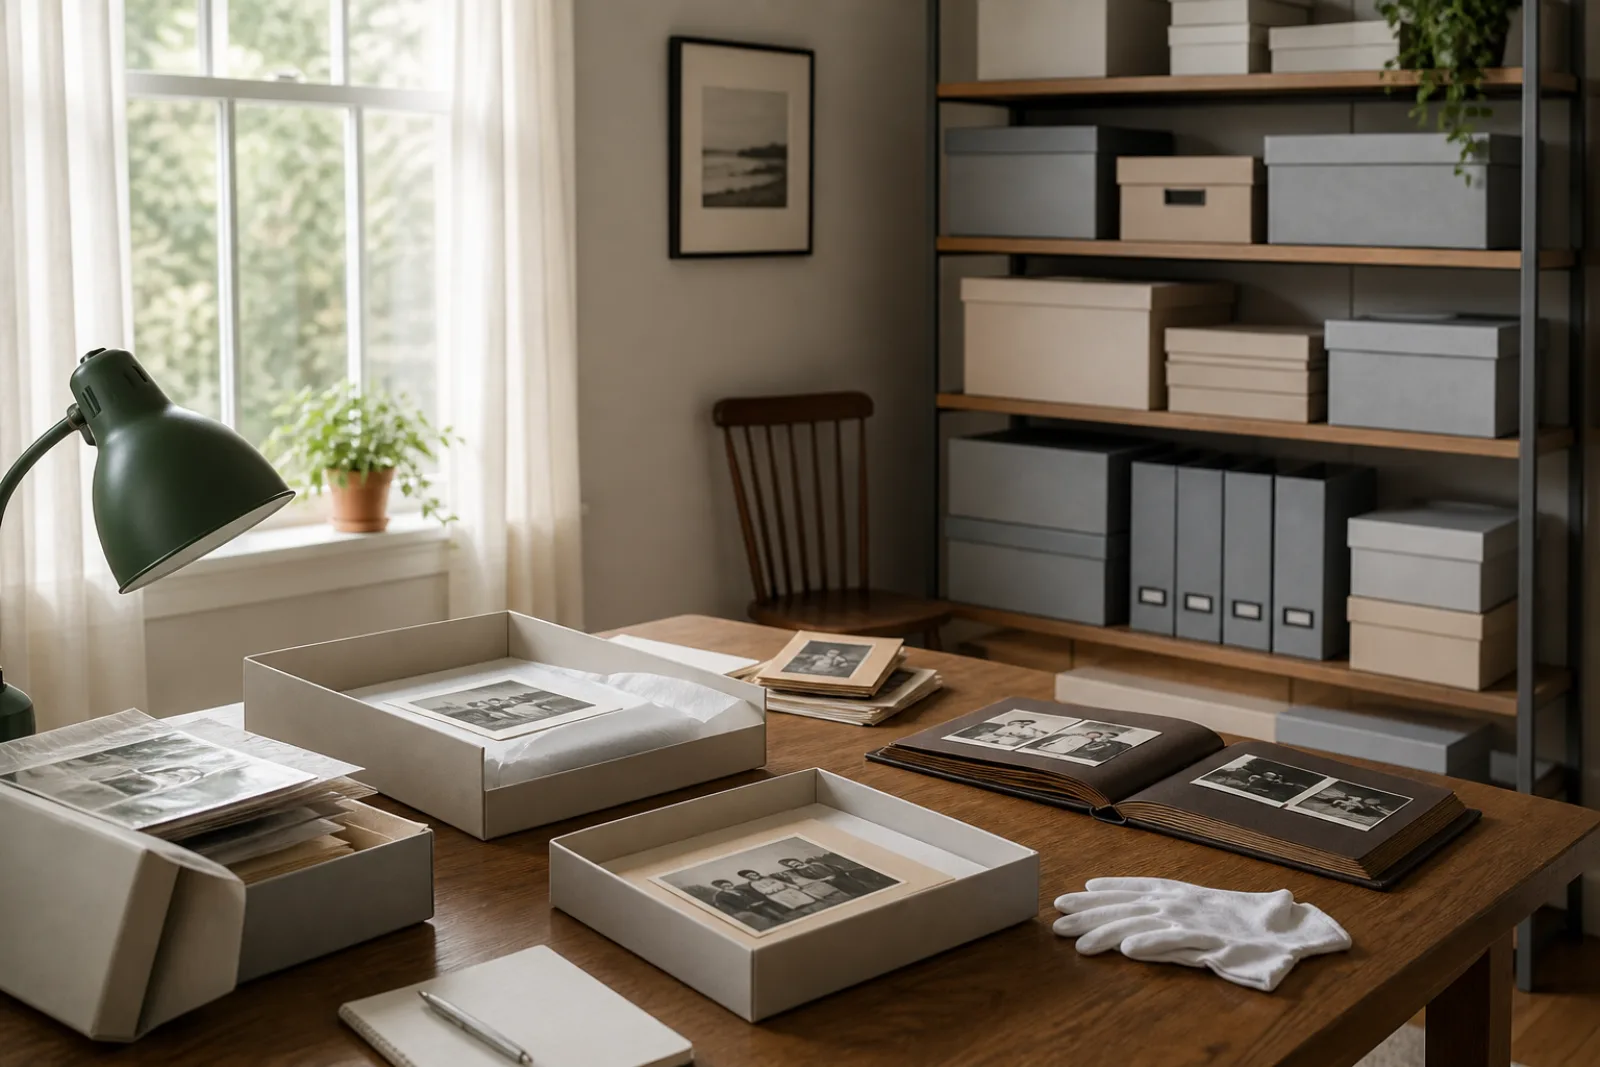
Most family photograph damage is quiet and chemical. Heat speeds dye fade. Humidity that swings with the seasons makes gelatin emulsions sticky, then brittle. Poor-quality paper and colored album pages leach acids into the print. The sticky 'magnetic' pages sold for decades as convenient storage permanently bond to the image. None of that requires a flood or a fire. It happens in a hall closet that is actually fine, and it happens faster in an attic that feels like the obvious place for boxes.
The Library of Congress's guidance for photographs is written for collections, but the numbers and the product rules translate cleanly to a household. Get the room right, then the sleeve, then the box. Buy supplies that pass a published test. Leave stuck, flaking, or glass-plate objects to a conservator.
LOC calls a good storage environment 'arguably the most important preservation measure' for photographic materials. The targets are specific: relative humidity of 30 to 50 percent, temperature of 70°F or below, and stability. Humidity is the single most important factor for most prints; ideally it should not swing more than about 5 percent in a day. For color photographs and film negatives, temperature takes over as the controlling factor, and LOC recommends storage at 40°F or below when that is realistic. A household is not going to build a cold vault. What a household can do is stop putting prints where temperature and humidity do their worst work.
- Relative humidity
- 30-50%. The most important number for most prints. High RH softens gelatin so it sticks and molds; low RH cracks it.
- Temperature
- 70°F or below, and stable. Color prints and film last longer colder; 40°F or below is the collections recommendation, not a typical closet.
- Places to avoid
- Attics, basements, spots next to vents, fireplaces, and radiators, and along exterior walls, anywhere condensation, leaks, or big swings are likely.
- Light
- Limit it. Display copies; keep originals in the dark. Even indoor light adds up.
- Air
- Minimize pollutants; a ventilated interior space is better than a sealed plastic bin in a garage.
Library of Congress, Care, Handling, and Storage of Photographs, accessed 2026-08-12
An interior closet on a lived-in floor, away from the bathroom stack and the uninsulated exterior wall, is usually the best room in the house for this. A plastic bin in the garage is not an upgrade on a cardboard box in that closet. If you can only improve one thing this weekend, move the prints out of the attic or basement and into the closet. The expensive box can wait.
Housing comes next: a primary enclosure around each print or small group, then a box around the enclosures. LOC's rule for 'photo-safe' is not a marketing adjective. Storage materials should meet ISO 18902, including passing the Photographic Activity Test (PAT, ISO 18916). Reputable suppliers print that on the product. If a sleeve or album page does not mention PAT or ISO 18902, treat it as ordinary plastic or paper, which can cause fading, yellowing, silver mirroring, and embrittlement.
| Material | Use it when | Do not use it when |
|---|---|---|
| Uncoated polyester, polyethylene, or polypropylene sleeve (PAT-tested) | Prints you want to see without taking them out; frequent viewing | High or uncontrolled humidity (emulsion can stick to plastic above about 70% RH); nitrate or acetate negatives |
| Photo-safe paper enclosure, unbuffered or buffered as appropriate | Dark storage, easy pencil labels, cheaper housing, brittle mounted prints (buffered, in LOC's advice) | Dye-transfer prints, cyanotypes, and some architectural processes (LOC: buffered paper is not recommended) |
| Photo-safe box, vertical or horizontal | Always, around the sleeves. Horizontal for brittle mounts and oversize prints; vertical for glass to reduce breakage | As the only layer, with loose prints sliding against each other |
| Magnetic or sticky self-adhesive album | Never, for originals | Always. The adhesive bonds to the image. LOC names these albums specifically as ones to avoid, along with colored pages. |
A working storage stack
- 01Handle
Clean hands or clean nitrile gloves. Hold the print by the edges or by its sleeve. No food, no drinks, no touching the image.
- 02Sleeve
One print, or a small related group, in a PAT-tested plastic or paper enclosure sized so nothing sticks out.
- 03Label the housing
Names, dates, and places go on the sleeve or folder, in pencil. Not on the front of the print, not with a ballpoint, not with a sticky note.
- 04Box
Photo-safe box, filled enough that prints do not slump, not packed so tight they bind. Keep negatives, if you have them, in a separate box; some negatives off-gas as they age.
- 05Room
Interior closet, 70°F or below, dry, stable, dark, off the floor enough to survive a minor leak.
Handling is the cheap preservation measure. LOC's list is short and unromantic. Handle photographs with clean hands or clean nitrile gloves, especially metal, glass, and plastic (negatives, daguerreotypes, tintypes). Avoid the image area. Do not mark photographs if you can mark the housing instead; if you must write on a print, stay on the back, near the edge, with a soft graphite pencil. No paper clips, rubber bands, self-adhesive tape, sticky notes, or glue. Dust is better lifted with a blower bulb than with a brush, and canned air is not a blower.
Albums are allowed. Many commercial albums now use photo-safe materials, and polyethylene or polypropylene pages in a ring binder are a reasonable household system. Secure prints with photo corners, not glue. Then put the album in a preservation-quality box so it is not sitting on a shelf in the light. The albums to retire are the ones with colored pages and the ones that grip the print with a sticky film. If a print is already stuck, stop. Peeling it is how the image layer comes off. That is conservator work.
Digitizing is a separate project with a separate failure mode. A scan is an access copy and a disaster copy. It is not a substitute for storing the original well, and a hard drive in the same closet is not off-site backup. If you scan, keep the original in the sleeve afterward rather than treating the scan as permission to put the print back in the magnetic album.
A Saturday morning pass through the family photographs
- 01Move boxes out of attics, basements, garages, and spots against exterior walls or heat sources.
This step does more than any sleeve you can buy today.
- 02Pull prints out of magnetic or self-adhesive albums if they are not already bonded. Leave stuck prints alone.
If a page has already grabbed the image, stop and get advice rather than peeling.
- 03Sleeve prints in PAT-tested polyester, polyethylene, polypropylene, or photo-safe paper.
Look for ISO 18902 / PAT on the package. Generic 'archival' without a test is a sales word.
- 04Write names and dates on the enclosure in pencil.
The information is half the point of keeping the print.
- 05Box them, store the box in an interior closet, and make a simple digital copy of the ones you cannot replace.
The copy lives somewhere else, not only on the laptop in the same house.
What actually matters
- 01
Cool, dry, and stable beats decorative. Get prints out of attics and basements before you shop for boxes.
- 02
Buy sleeves and albums that pass the Photographic Activity Test. Magnetic pages are a known way to destroy a print.
- 03
Label the housing. Handle by the edges. Leave stuck or flaking photographs to a conservator.
Questions
- 01Are those slightly yellow paper envelopes from the drugstore photo-safe?
Usually no. Photo-safe paper is specified to be free of harmful colorants and to pass PAT. Ordinary envelopes, especially colored or highly acidic ones, are what ISO 18902 exists to keep away from prints. Move the photographs into tested enclosures and recycle the old packets after you copy any dates written on them.
- 02Should I put silica gel in the box?
A stable room is the control that matters. Loose desiccant in a sealed bin can overshoot toward dryness and does nothing about the attic-level heat that is often the real problem. If a closet already sits in the 30-50% RH range, extra packets are optional, not a fix for a damp basement.
- 03What about the negatives in the same envelope as the prints?
LOC recommends keeping negatives separate from prints when you can, because some film bases release gases as they deteriorate. Sleeve them on their own, in materials rated for film, and do not use plastic enclosures for nitrate or acetate negatives.